How To Do Ribbing Crochet
How To Do Ribbing Crochet - Step by step instructions and photos for 5 easy styles of rib. This adds texture, stretch and visual interest to your designs, and is an easy way to mimic the look of ribbing in knitting. Now simply repeat steps 2 & 3 until your piece is as long as you’d like! Creating ribbing used to seem intimidating with its combination of stitches and peculiar repetitive patterns, but once you understand how it’s done, it’s actually quite simple! 2 attaching the chain to your project. Many crochet projects can really benefit from the use of an easy single crochet ribbing technique. Here you will learn 10 ways on how to crochet ribbing. In order to make a crochet ribbing stitch, you have to apply relief crochet, otherwise known as post stitches, or back loop only technique. Horizontal ribbing is where the rib is created by the stitches. (row 2) ch 1, turn, slip stitch in each stitch across the row. Web how to attach crochet ribbing. (row 2) ch 1, turn, slip stitch in each stitch across the row. Both vertical and horizontal ribbing can be created by learning three very easy and helpful techniques. Web if you’re on the hunt for a crochet ribbing to add to your sweater, beanie, or any other project, i have you covered! Whether you're a beginner or an experienced crocheter, this tutorial will help you level up your skills and create beautiful and stretchy ribbed patterns in no time. Horizontal ribbing is where the rib is created by the stitches. To make a successful horizontal stitch you simply have to learn where the back loops in a sc, hdc, dc or tc are. It's the perfect technique to add ribbing onto the body of your sweater, the neckline, the sleeves, but it also works great for other stuff too, like beanies, gloves, etc. This is important to know as it will impact where and how you might want to apply the techniques. You have come to the right place. Web crochet ribbing is an integral part of garments like cardigans and sweaters. Both vertical and horizontal ribbing can be created by learning three very easy and helpful techniques. Web if you’re on the hunt for a crochet ribbing to add to your sweater, beanie, or any other project, i have you covered! Creating ribbing used to seem intimidating with. This adds texture, stretch and visual interest to your designs, and is an easy way to mimic the look of ribbing in knitting. In order to make a crochet ribbing stitch, you have to apply relief crochet, otherwise known as post stitches, or back loop only technique. You have come to the right place. Chain any number of stitches. (row. (row 1) single crochet in each stitch across the row. Now simply repeat steps 2 & 3 until your piece is as long as you’d like! Web welcome to this soothing crochet tutorial! Web this crochet brim technique is absolutely perfect for beanie, but you can also use it for the ribbing on sweater hems, cuffs, and necklines. Both vertical. This technique will create the ridge or ribbed texture that we see on hat brims, sweater cuffs, cardigan necks and blanket edgings. Here, we’ll go over the two methods for achieving this look. Crochet ribbing is good for two things: Web in this pose you will learn how to crochet ribbing 6 easy ways. Web how to attach crochet ribbing. Web how to make a knit look ribbing with crochet. Web how to make ribbing? Web there are two ways to approach crocheting ribbing using post stitches. You have come to the right place. Web welcome to this soothing crochet tutorial! Web simply put, ribbing is worked by crocheting a stitch; Now simply repeat steps 2 & 3 until your piece is as long as you’d like! Web this crochet brim technique is absolutely perfect for beanie, but you can also use it for the ribbing on sweater hems, cuffs, and necklines. Web crochet ribbing is perfect for creating texture in. Web this crochet brim technique is absolutely perfect for beanie, but you can also use it for the ribbing on sweater hems, cuffs, and necklines. 2 attaching the chain to your project. Web crochet ribbing is an integral part of garments like cardigans and sweaters. Today's tutorial is on crochet ribbing. You have come to the right place. Today's tutorial is on crochet ribbing. Web if you want to add a little pizzazz and extra texture to your projects or garments, one great way to do this is by crocheting ribbing in the round. Whether you're a beginner or an experienced crocheter, this tutorial will help you level up your skills and create beautiful and stretchy ribbed patterns. 2 attaching the chain to your project. Web are you in the search for a crochet ribbing to add to your sweater, beanie, or any other project? Web this crochet brim technique is absolutely perfect for beanie, but you can also use it for the ribbing on sweater hems, cuffs, and necklines. It's the perfect technique to add ribbing onto. In order to make a crochet ribbing stitch, you have to apply relief crochet, otherwise known as post stitches, or back loop only technique. I will demonstrate in the video (at bottom of post), 3 different types of ribbing you can achieve with slip stitches, single crochet stitches &. (row 2) ch 1, turn, slip stitch in each stitch across. In this example it will be a single crochet or half double crochet, in the back loop of a stitch from the row or round before. Pretty much anything you want ribbing added to! Now simply repeat steps 2 & 3 until your piece is as long as you’d like! So the length of the rib depends on the number of stitches. I will demonstrate in the video (at bottom of post), 3 different types of ribbing you can achieve with slip stitches, single crochet stitches &. Both vertical and horizontal ribbing can be created by learning three very easy and helpful techniques. This is important to know as it will impact where and how you might want to apply the techniques. This adds texture, stretch and visual interest to your designs, and is an easy way to mimic the look of ribbing in knitting. 2 attaching the chain to your project. It’s also widely seen on beanie hats, gloves, and wrist warmers. To make a successful horizontal stitch you simply have to learn where the back loops in a sc, hdc, dc or tc are. (row 2) ch 1, turn, slip stitch in each stitch across the row. Many crochet projects can really benefit from the use of an easy single crochet ribbing technique. Creating ribbing used to seem intimidating with its combination of stitches and peculiar repetitive patterns, but once you understand how it’s done, it’s actually quite simple! Web in this pose you will learn how to crochet ribbing 6 easy ways. Web if you’re on the hunt for a crochet ribbing to add to your sweater, beanie, or any other project, i have you covered!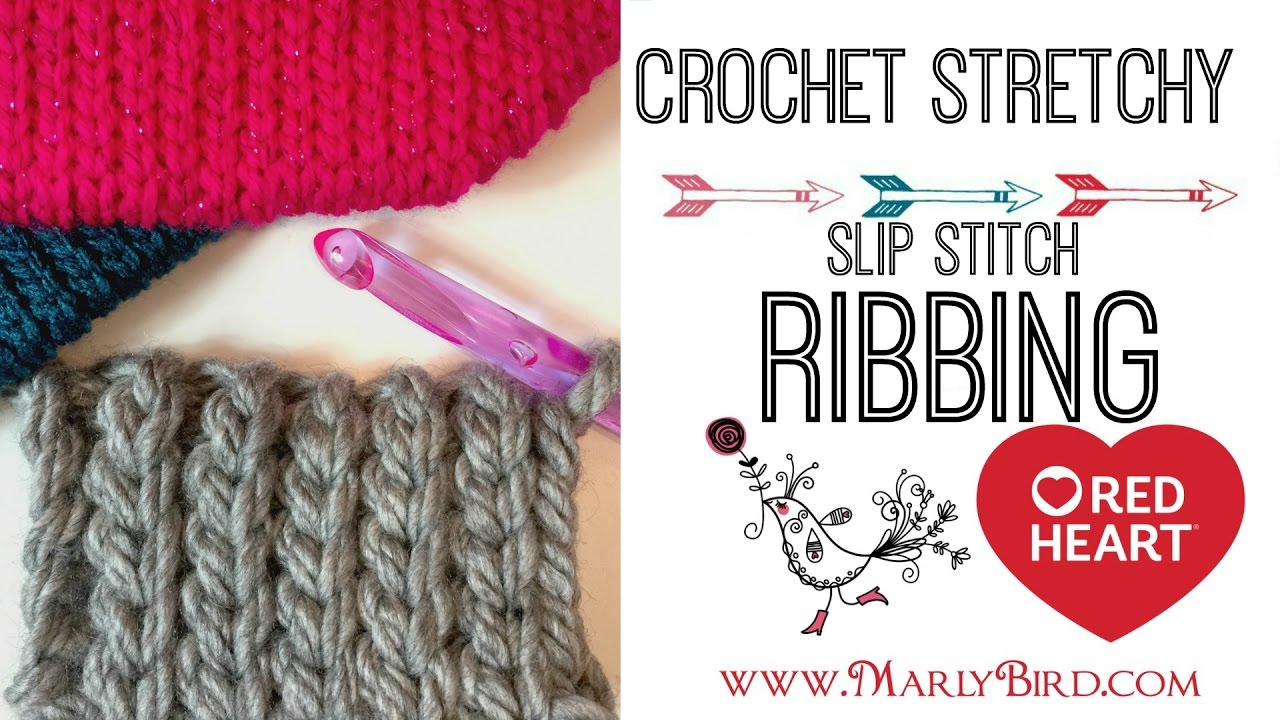
How to Crochet Stretchy Slip Stitch Ribbing YouTube
TUTORIAL Crochet Ribbing pt. One HTC and slip stitch — Emmy + LIEN
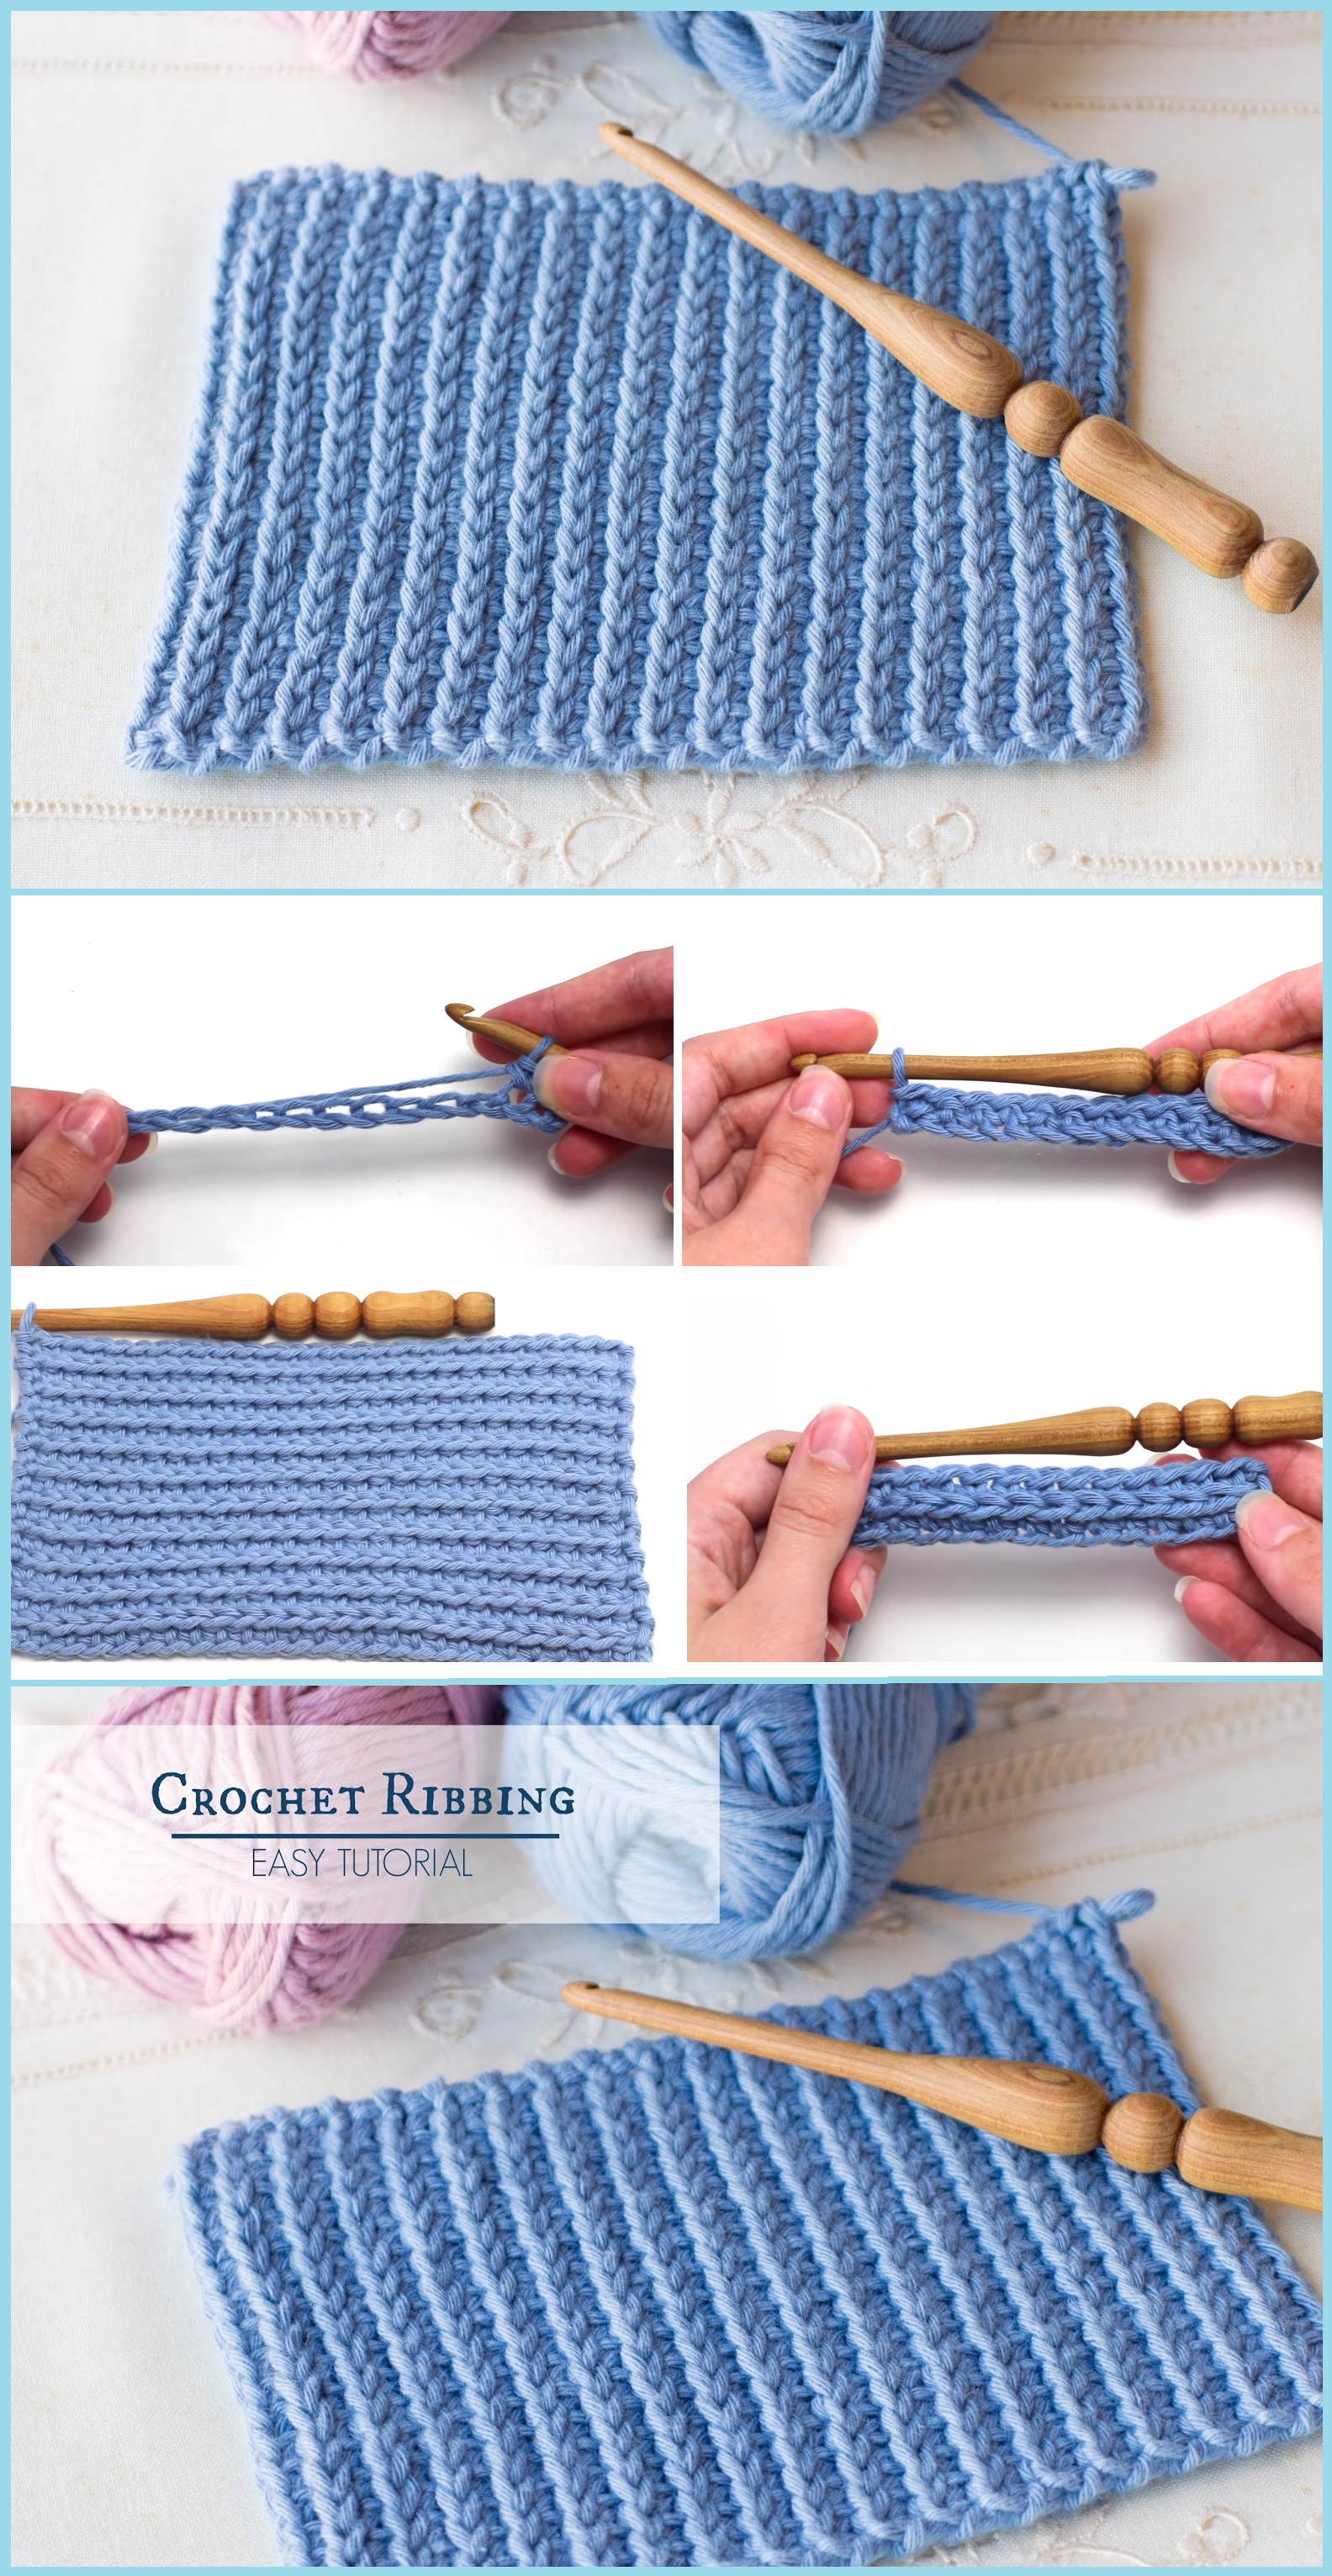
Crochet Ribbing Tutorial Tutorials & More

Crochet Ribbing Tutorial How to Crochet Ribbing YouTube

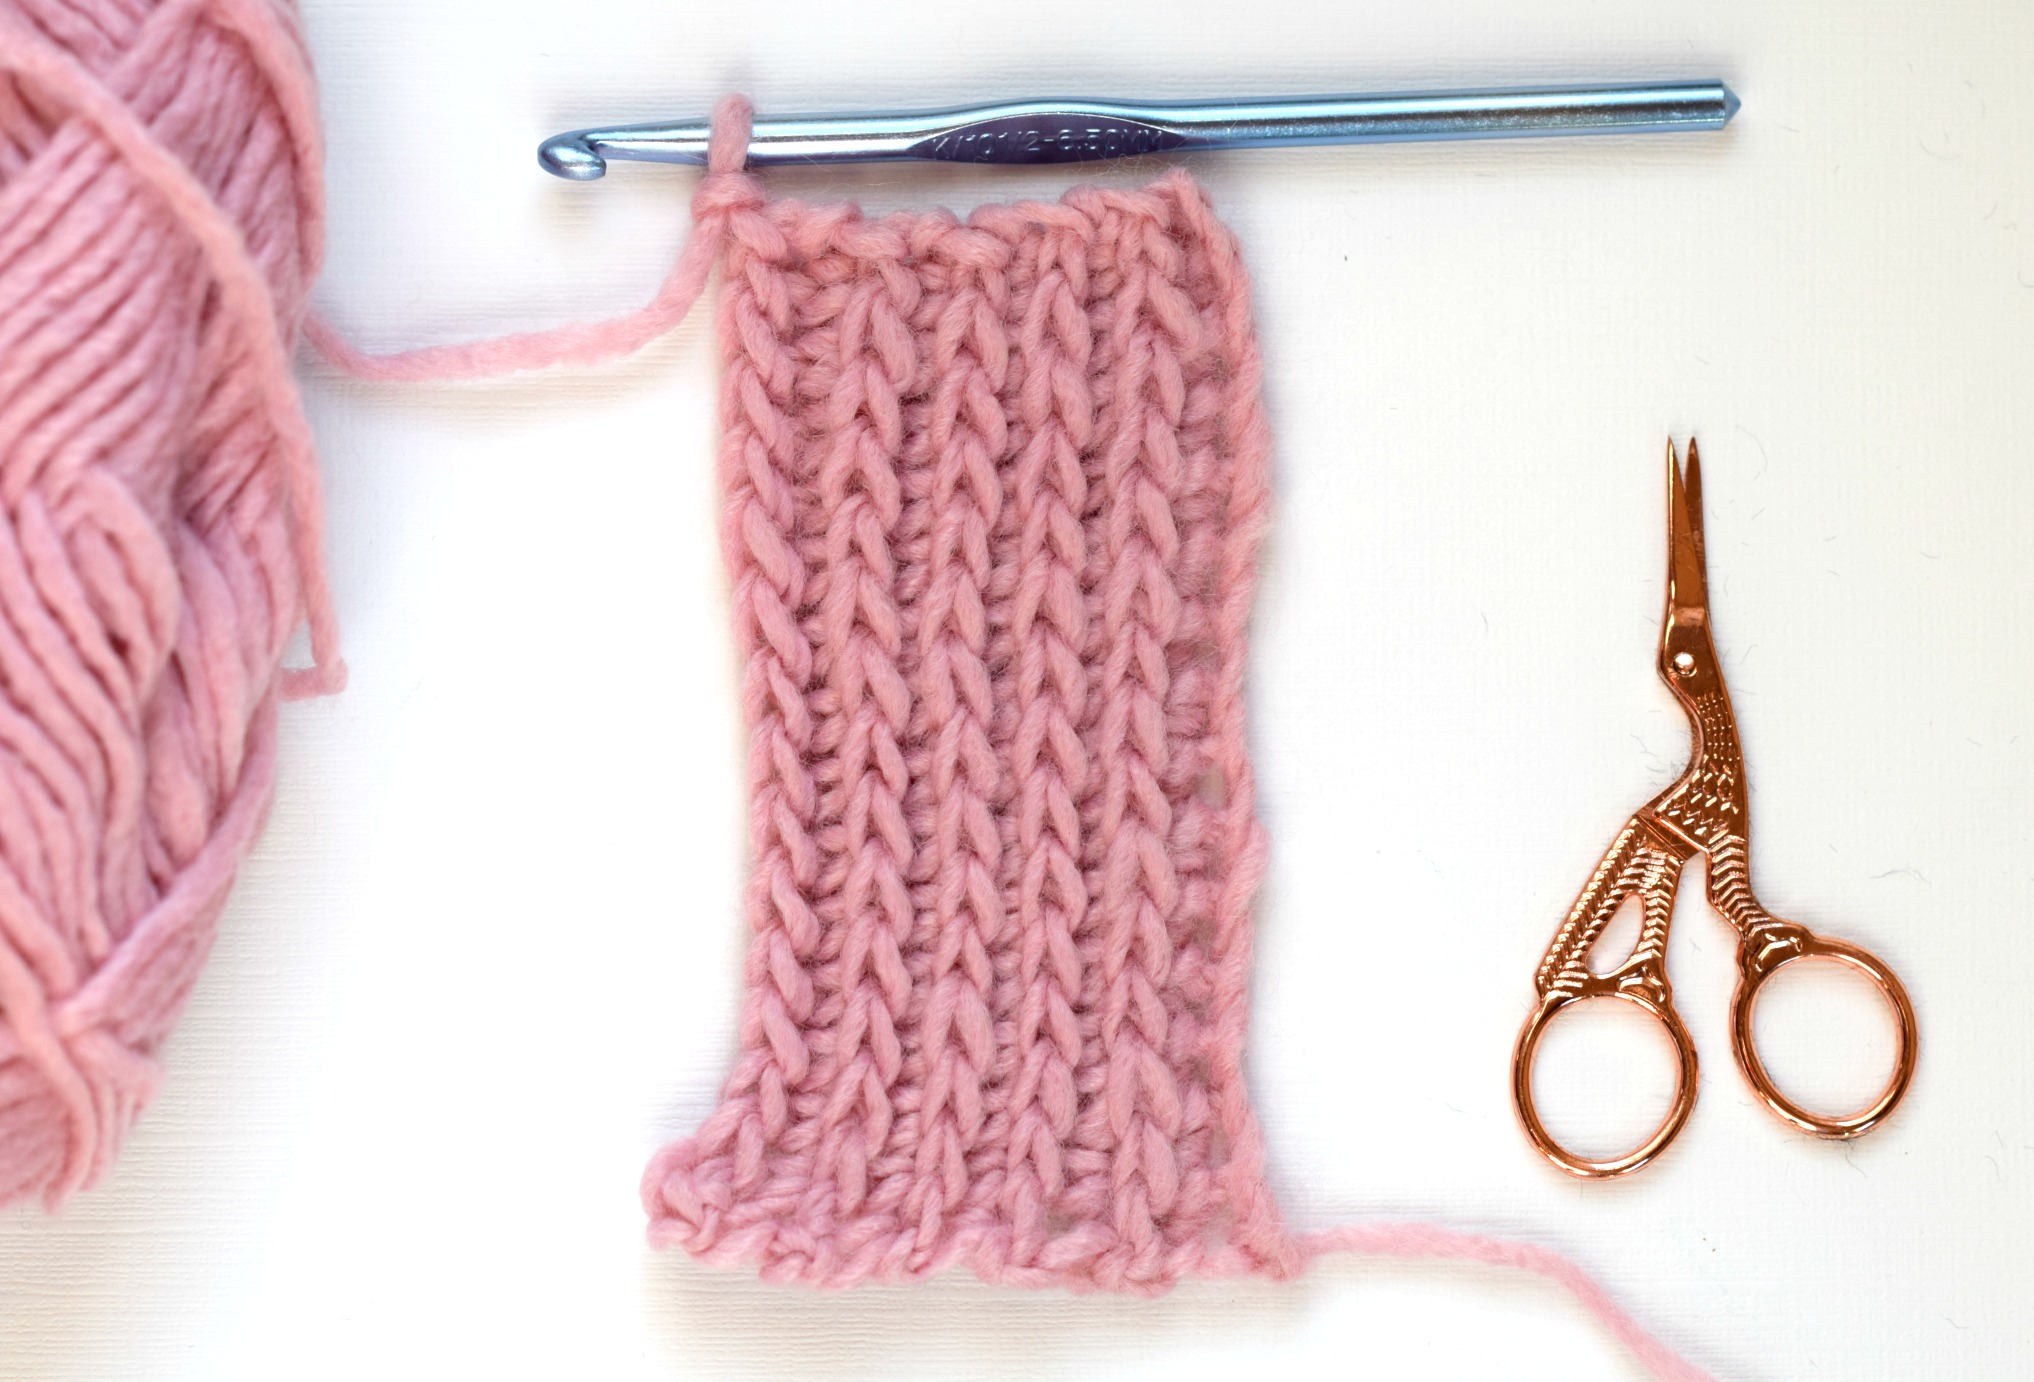
Single Crochet Ribbing (Easy Tutorial) love. life. yarn.
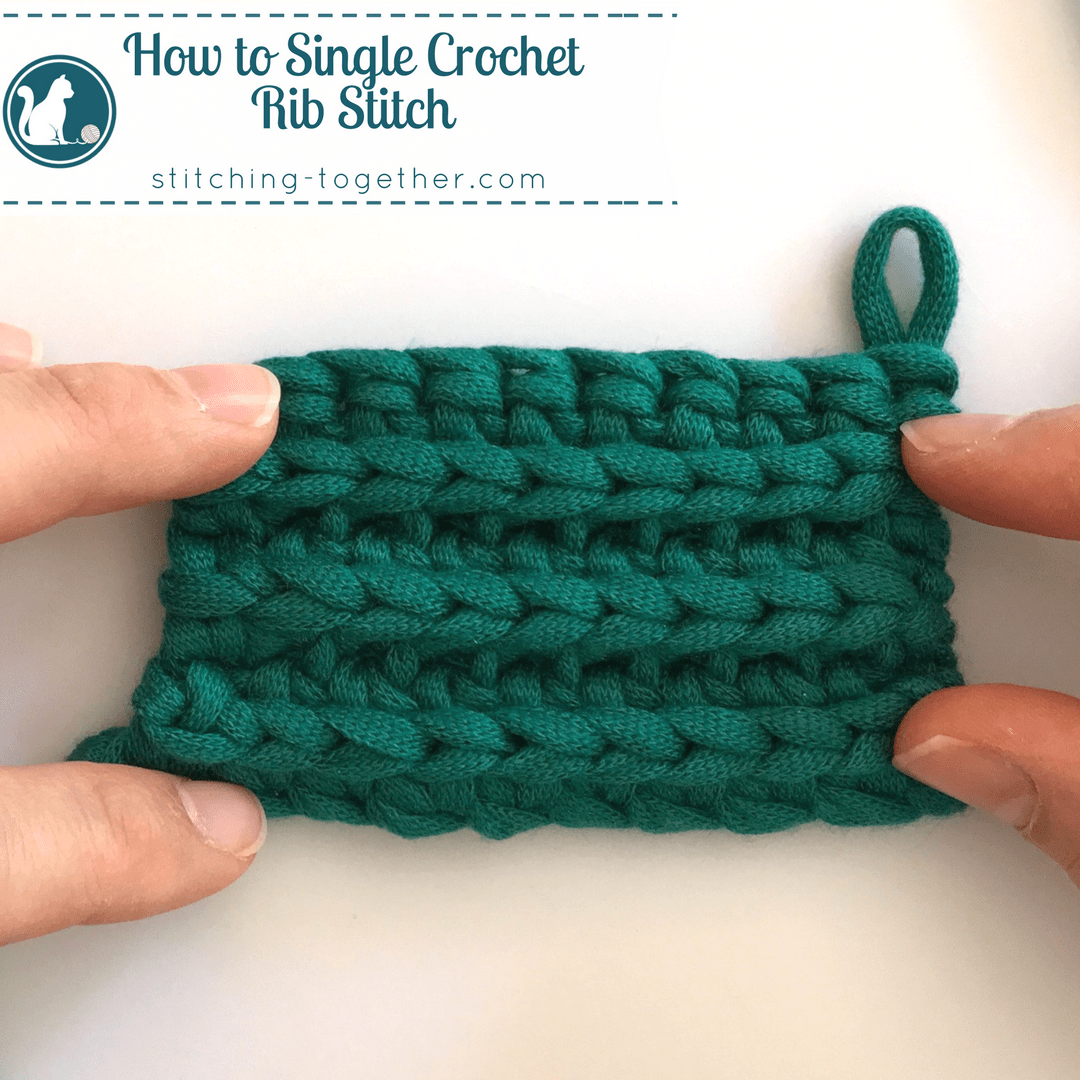
How to Single Crochet Rib Stitch

How To Crochet Ribbing Mama In A Stitch
How To Crochet Ribbing Mama In A Stitch

How to crochet ribbing MyCrochetory Ribbed crochet, Crochet basics
Crochet Ribbing Tutorial *Video Tutorial & Pattern Ideas* YouTube
Web Simply Put, Ribbing Is Worked By Crocheting A Stitch;
Chain Any Number Of Stitches.
You Have Come To The Right Place.
Web Learn How To Do Crochet Ribbing With This Easy Tutorial For Beginners.
Related Post:
